- Blog
- >
- PHOTOS: How to Replace a Xenith Adaptive Fit Chin Strap
PHOTOS: How to Replace a Xenith Adaptive Fit Chin Strap

April 24th, 2024
Keenan Crow
Xenith helmets are renowned for their comfort and performance, providing athletes with top-notch protection on the field. However, even the most reliable equipment requires occasional maintenance and replacement parts. One crucial component that may need replacing over time is the Adaptive Fit chin strap. Whether it’s worn out or you're upgrading to a newer model, replacing the Adaptive Fit chin strap on a Xenith helmet is a simple, straight-forward process.
In this article, we’ll provide a step-by-step guide to ensure a hassle-free replacement of a Xenith Adaptive Fit chin strap.
Steps to Replace Adaptive Fit Chin Strap:
Step 1: Gather Your Tools
Before getting started, make sure you have all the necessary tools and materials on hand:
- Replacement chin strap compatible with Xenith helmets
- Small Phillips-head screwdriver
- Towel or soft cloth (optional)
- Clean workspace
Step 2: Prepare Your Workspace
Next, find a clean, well-lit area to work on your helmet. Lay down a towel or soft cloth to protect the helmet’s surface during the process.
Step 3: Remove the Old Chin Strap
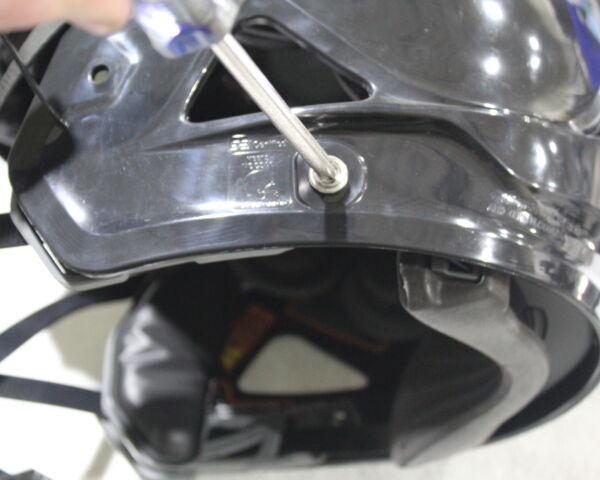
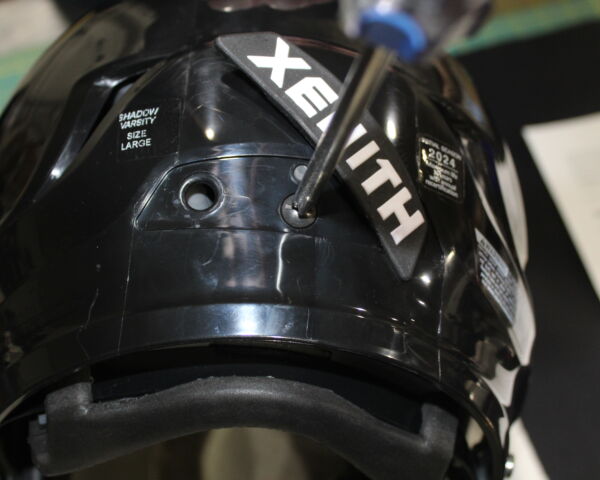
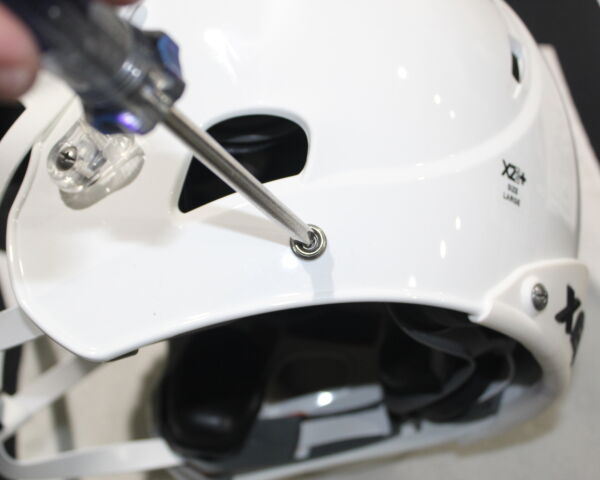
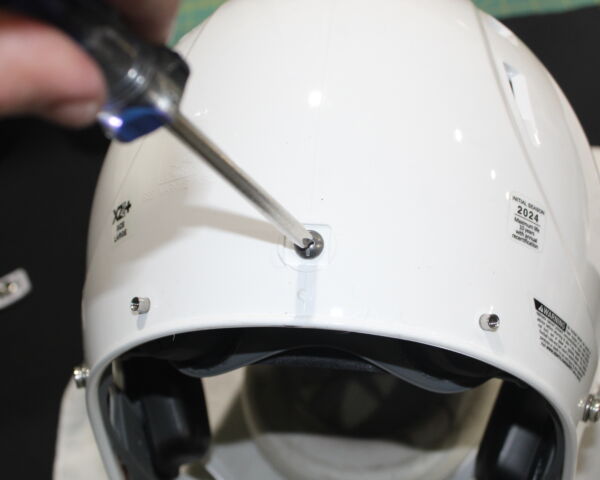
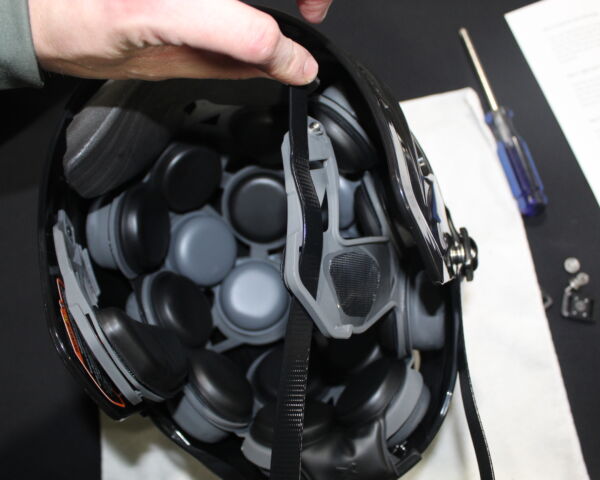
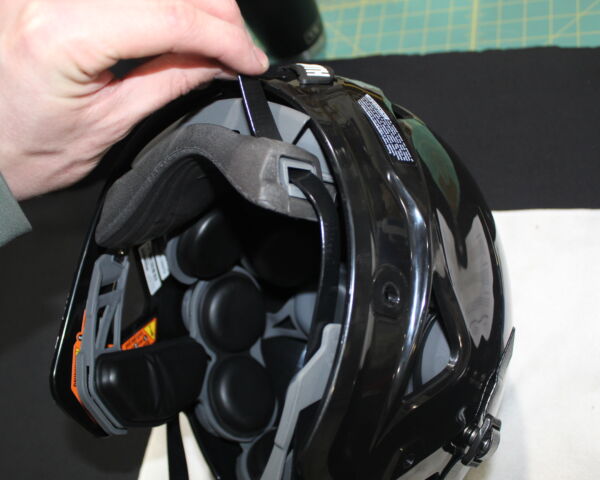
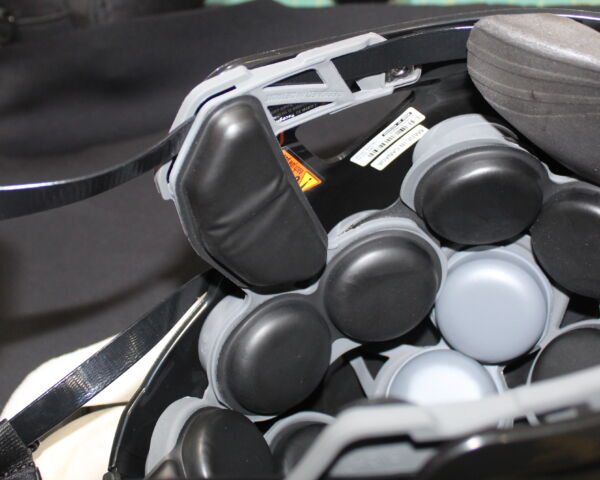
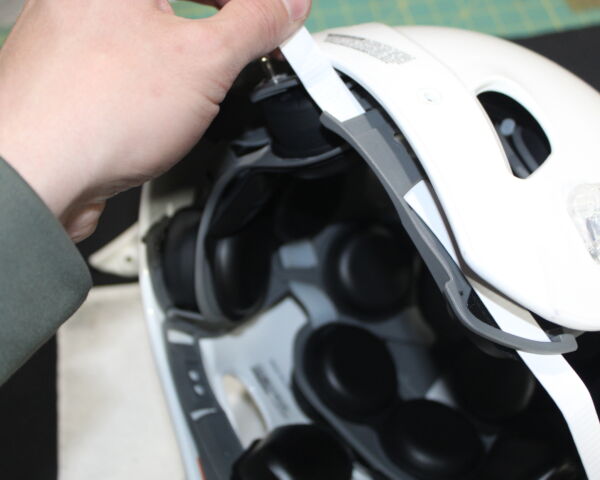
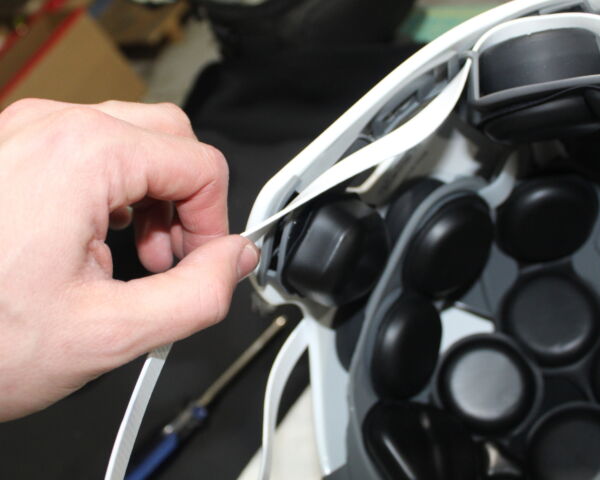
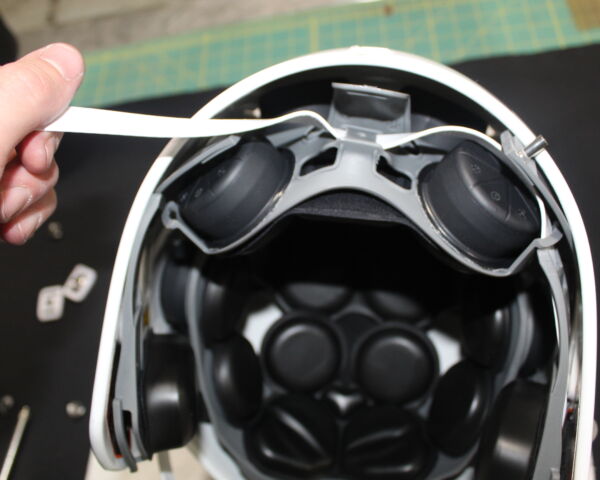
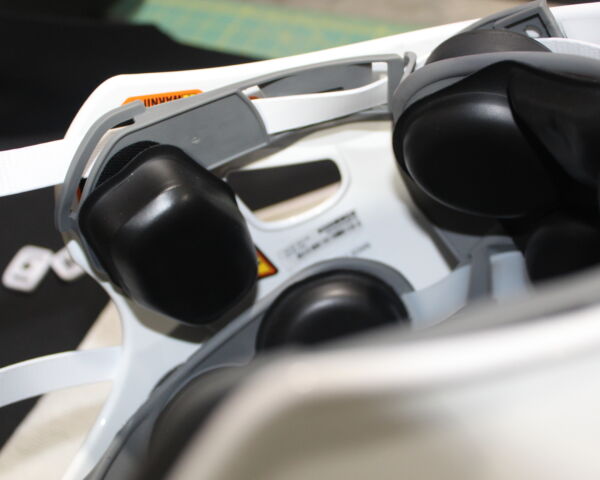
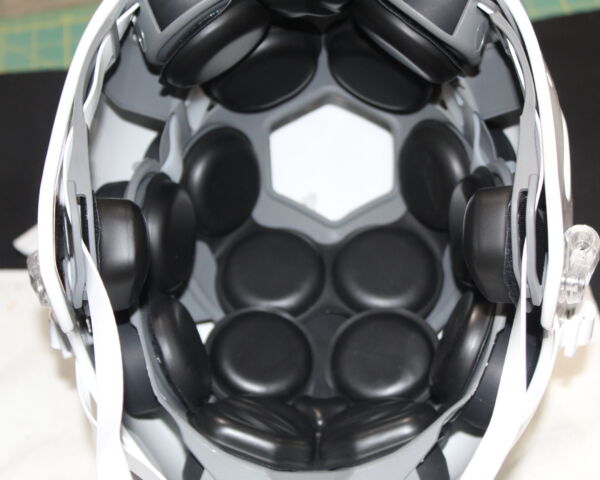
To remove the old chin strap, locate the screws securing it to the helmet - these can be found near the ear-holes on both sides of the helmet, and at the back of the helmet. Use a small Phillips-head screwdriver to carefully remove the screws. (Make sure to keep track of the screws to avoid losing them.) The chin strap can now be removed by carefully pulling it through the chin cup and out of the shock matrix.
Step 4: Install the New Chin Strap
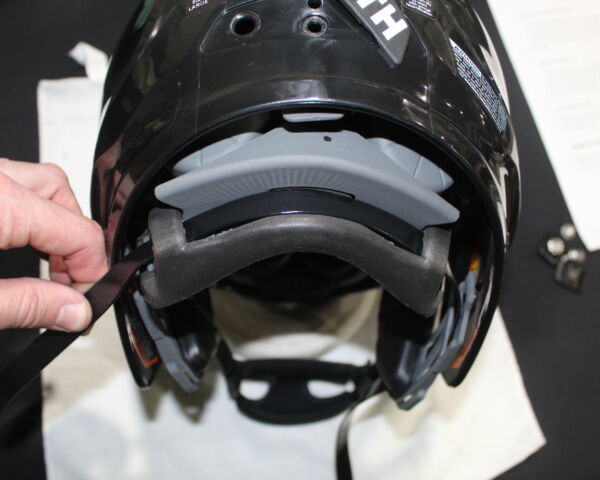
Take your replacement chin strap and carefully route it through the chin cup and shock matrix. Make sure that the strap is aligned and even on both sides once it is installed with the jaw padding facing inward for comfort. Insert the screws into the holes at the back and on each side of the helmet, and tighten them securely with the Phillips-head screwdriver. Ensure that the shock matrix is firmly attached to the helmet and there is no wobbling or looseness.
Step 5: Adjust and Test
Once the new chin strap is installed, adjust its length to ensure a snug and secure fit under your chin. You should be able to fit no more than one finger between the strap and your chin for optimal security. After adjusting the strap, test it by gently tugging on the chin cup to ensure it holds firmly in place. Move your head from side to side to check for any discomfort or excessive rubbing.
Step 6: Final Inspection
Inspect the entire helmet to ensure everything is securely in place and there are no loose screws or parts. Check the functionality of the chin strap buckle to make sure it snaps and unsnaps smoothly - this will improve over time with use.
READY FOR GAME DAY
With the new chin strap securely in place, your Xenith helmet is ready to take the field. Remember to regularly inspect and maintain the helmet to ensure it remains in top condition and provides optimal safety during play.


