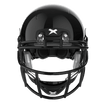
Fitting Guide - X1
CHOOSING THE RIGHT HELMET SIZE
A proper fitting helmet is integral to a helmet’s performance. Please follow the instructions below to be sure your Xenith product is fitted properly. Measurements for helmet size should be taken 1" inch above the eyebrow around the circumference of the head. The size chart is recommended as a guideline only. Individual head sizes may vary.
FITTING INSTRUCTIONS
Follow these steps to ensure your X1 fits properly or reference the videos and additional tutorials on this page. Accessories such as Sizing Pads, Comfort Pads, and Jaw Guards are available to enhance your fit.

1MEASURE YOUR HEAD
Using a standard measuring tape, measure the circumference of your head. Then consult the Xenith X1 Size Chart and choose your correct size X1 helmet. The X1 can be ordered in "Snug" sizes which include thicker comfort pillows for additional sizing options.2PROPER SETUP
Unbuckle all four snap buckles and feed the chinstraps through the first slot of the snap buckles only. This will make it easier to adjust the chinstraps during fitting. See that the high chinstrap runs in between the low chinstrap (as shown).

3SEAT THE HELMET ON YOUR HEAD
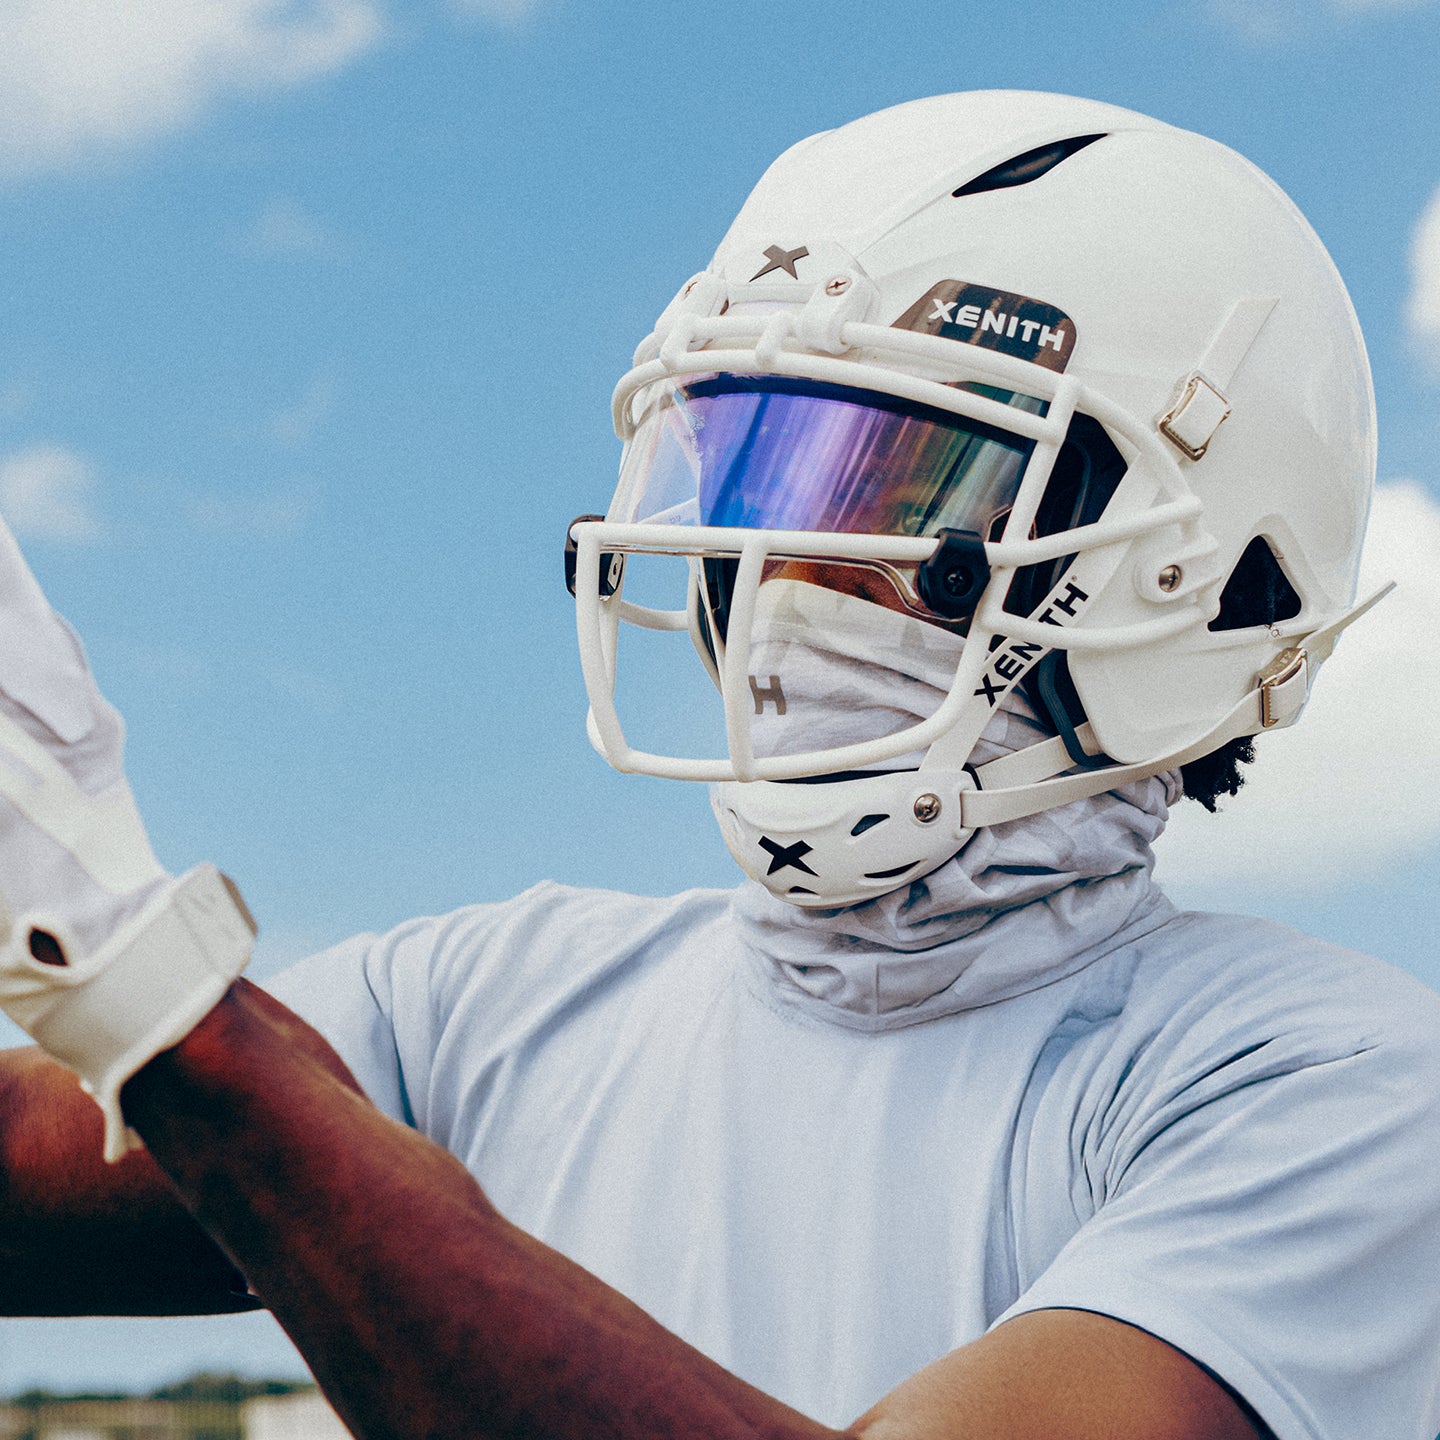
Use the image to the left and the diagram below to ensure the helmet is seated properly on your head. The front edge of the helmet should rest just above your brow, and not be rotated excessively forward or backward.4CINCH THE LOW STRAPS BY PULLING FIRMLY OUTWARD
Pull the low chinstraps outward, which will cause the chincup to slide up to meet your chin, and the Shock Bonnet to snug down around your head. Be sure to pull evenly on both sides so that the chincup stays centered. Do not overtighten, as this may cause discomfort.

5ADJUST LOW BUCKLES AND SNAP INTO PLACE
Bring the low chinstraps under the jawline of the shell (as shown) and up to the snap. Then slide each buckle along the chinstrap and snap it into place, leaving minimal slack in the chinstrap.6ADJUST THE HIGH CHINSTRAPS AND SNAP INTO PLACE
Pull the high chinstraps upward so that the chincup pivots under your chin. Slide the buckles down along each chinstrap and snap into place, leaving minimal slack in the chinstrap.

7CHECK FOR PROPER FIT AND ADJUST AS NEEDED
With all four buckles snapped into place, apply force to the facemask in multiple directions. If there is excessive movement, tighten the chinstraps further and readjust the buckles.8FEED STRAPS THROUGH BUCKLES TO LOCK IN PLACE
Once you have tightened all four straps and the helmet feels secure, lock the buckles into place by feeding the end of the chinstrap through the second slot of the buckle.
FITTING INSTRUCTIONS
Follow these steps to ensure your X1 fits properly or reference the videos and additional tutorials on this page. Accessories such as Sizing Pads, Comfort Pads, and Jaw Guards are available to enhance your fit.

1MEASURE YOUR HEAD
Using a standard measuring tape, measure the circumference of your head. Then consult the Xenith X1 Size Chart and choose your correct size X1 helmet. The X1 can be ordered in "Snug" sizes which include thicker comfort pillows for additional sizing options.
2PROPER SETUP
Unbuckle all four snap buckles and feed the chinstraps through the first slot of the snap buckles only. This will make it easier to adjust the chinstraps during fitting. See that the high chinstrap runs in between the low chinstrap (as shown).<

3SEAT THE HELMET ON YOUR HEAD
Use the image to the left and the diagram below to ensure the helmet is seated properly on your head. The front edge of the helmet should rest just above your brow, and not be rotated excessively forward or backward.
4CINCH THE LOW STRAPS
Pull the low chinstraps outward, which will cause the chincup to slide up to meet your chin, and the Shock Bonnet to snug down around your head. Be sure to pull evenly on both sides so that the chincup stays centered. Do not overtighten, as this may cause discomfort.
5ADJUST LOW BUCKLES AND SECURE
Bring the low chinstraps under the jawline of the shell (as shown) and up to the snap. Then slide each buckle along the chinstrap and snap it into place, leaving minimal slack in the chinstrap.
6ADJUST THE HIGH CHINSTRAPS AND SNAP INTO PLACE
Pull the high chinstraps upward so that the chincup pivots under your chin. Slide the buckles down along each chinstrap and snap into place, leaving minimal slack in the chinstrap.
7CHECK FOR PROPER FIT AND ADJUST AS NEEDED
With all four buckles snapped into place, apply force to the facemask in multiple directions. If there is excessive movement, tighten the chinstraps further and readjust the buckles.
8FEED STRAPS THROUGH BUCKLES TO LOCK IN PLACE
Once you have tightened all four straps and the helmet feels secure, lock the buckles into place by feeding the end of the chinstrap through the second slot of the buckle.Downloads
Download a copy and study it like your playbook
