
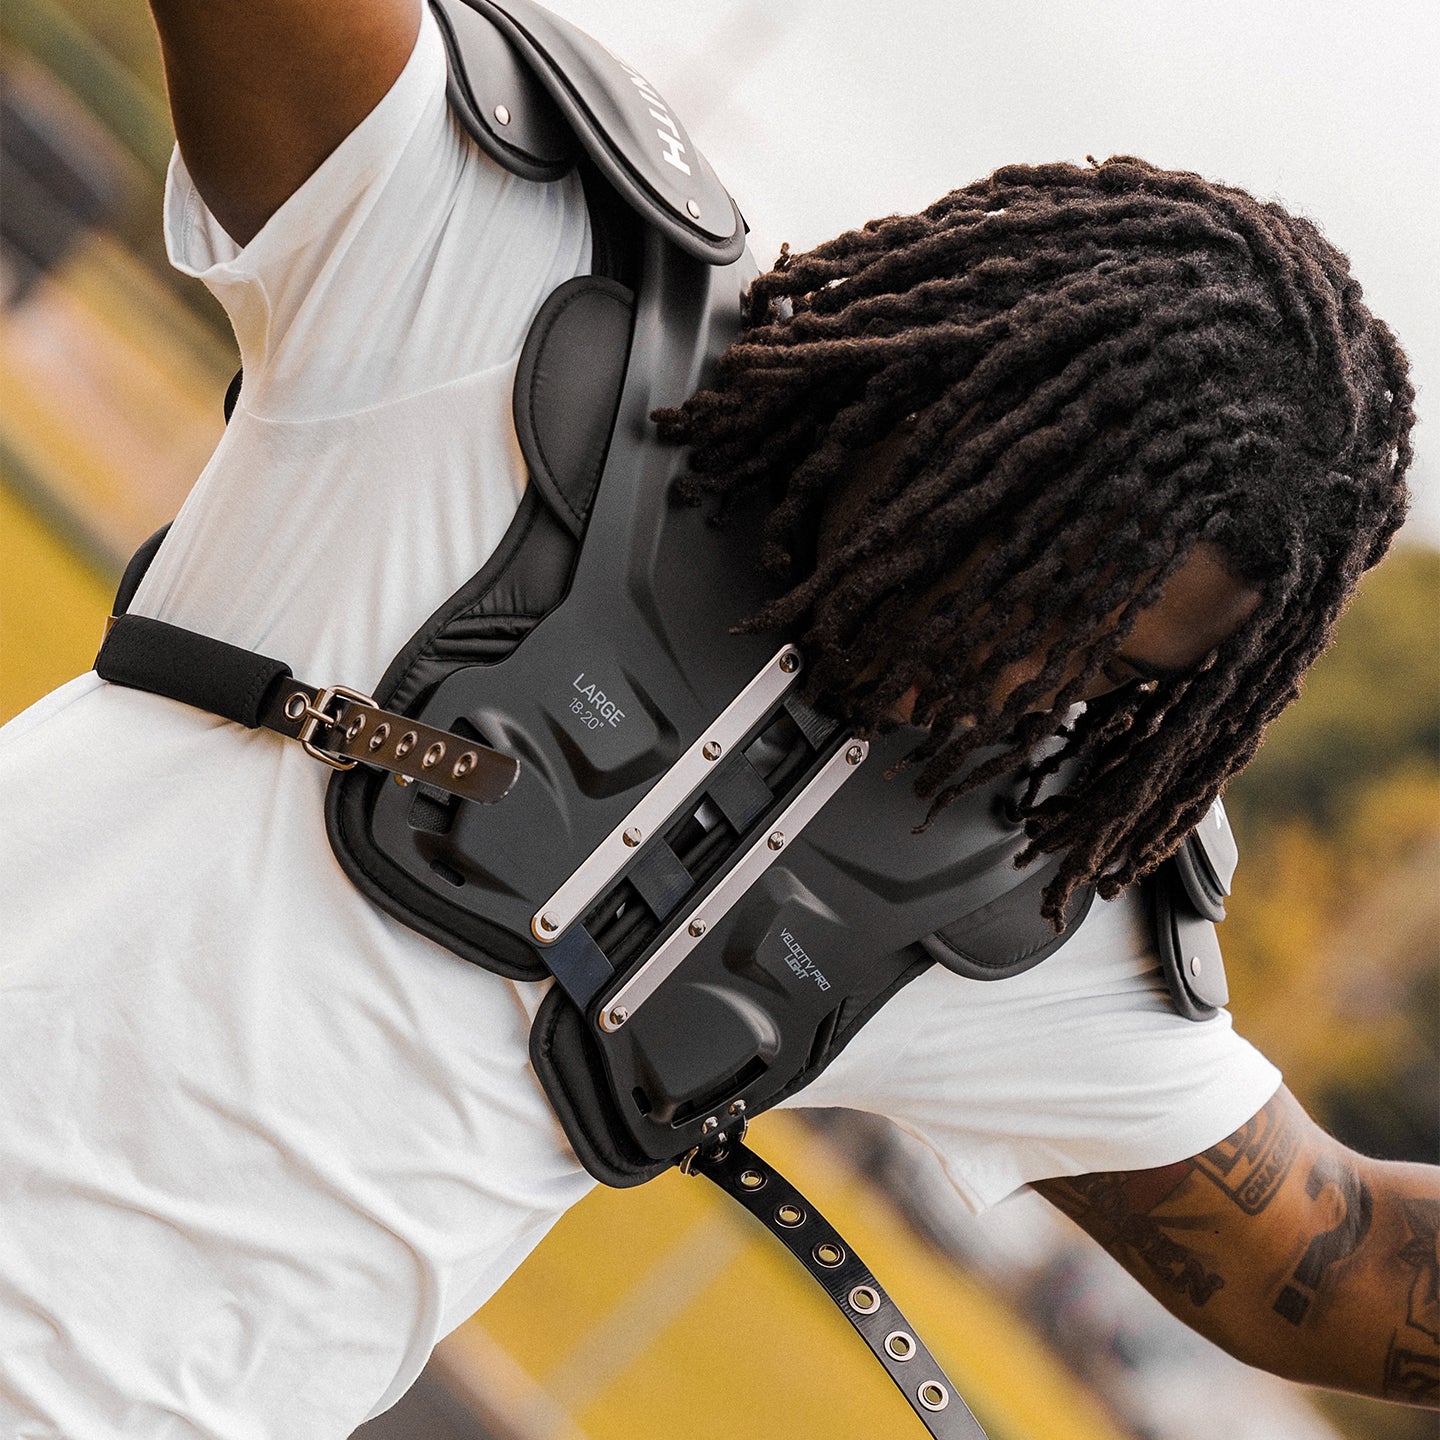


Fitting Guide - Core Guard - Back
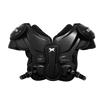
CORE GUARD BACK
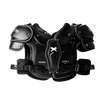
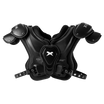
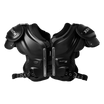
ASSEMBLY INSTRUCTIONS - XENITH SHOULDER PADS

HARDWARE CONTENTS
- 4 Attachment Straps
- 4 Elastic Hardware Covers
- 8 T-Nuts
- 8 Screws
STEP 1
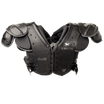
Feed lower end of attachment strap with two grommets through slot in back plate from outside to inside. Select inner or outer slot to best match up with slots in shoulder pad.

STEP 2
Place elastic hardware cover onto attachment strap.STEP 3
Feed upper end of attachment strap through slot in shoulder pad from outside to inside.

STEP 4
Feed upper end of attachment strap back through elastic hardware cover.STEP 5
Align the two grommet holes on the lower end of the attachment strap with one of the grommet holes from the upper end, and place a t-nut through the three grommet holes from back to front. The vertical position of the pad can be adjusted using the different grommet holes.

STEP 6
Install screw through front of grommet holes into t-nut and tighten. • Adjustable and removable rib pads allow use as a stand-alone back plate • Attaches to all Xenith shoulder pads and most other brands • Can also be worn individually with included shoulder strapsSTEP 7
Slide elastic hardware cover over t-nut and screw. Repeat the process from step 1 for 3 remaining attachment strap locations on back plate and rib pads.
1PLACE THE HELMET ON YOUR HEAD
Unbuckle the straps and place the helmet on your head so the front edge rests just above your brow. Then pull the lower chin straps outward until the chin cup slides up to meet your chin. The internal suspension system will tighten until it feels snug and secure around your head.2ADJUST THE LOW BUCKLES & SECURE
Slide each buckle along the chin strap until you can snap the buckle into place on the outside of the helmet with no discomfort or slack in the straps.
3ADJUST THE HIGH BUCKLES & SECURE
Pull the high chin straps upwards so that the chin cup sits comfortably under your chin. Repeat Step 2 on the high straps, snapping them into place once the helmet is secure and fits comfortably – again making sure there’s no slack in the straps.
4CHECK FOR PROPER FIT
With all four buckles snapped into place, apply mild force to the facemask in multiple directions. If there is excessive movement, tighten the chin straps and readjust the buckles until you’ve achieved a snug, secure fit.
5LOCK THE BUCKLES IN PLACE
Once your helmet is comfortable and secure, feed the end of the chin strap through the second slot of each buckle to lock in the fit.Downloads
Download a copy and study it like your playbook.